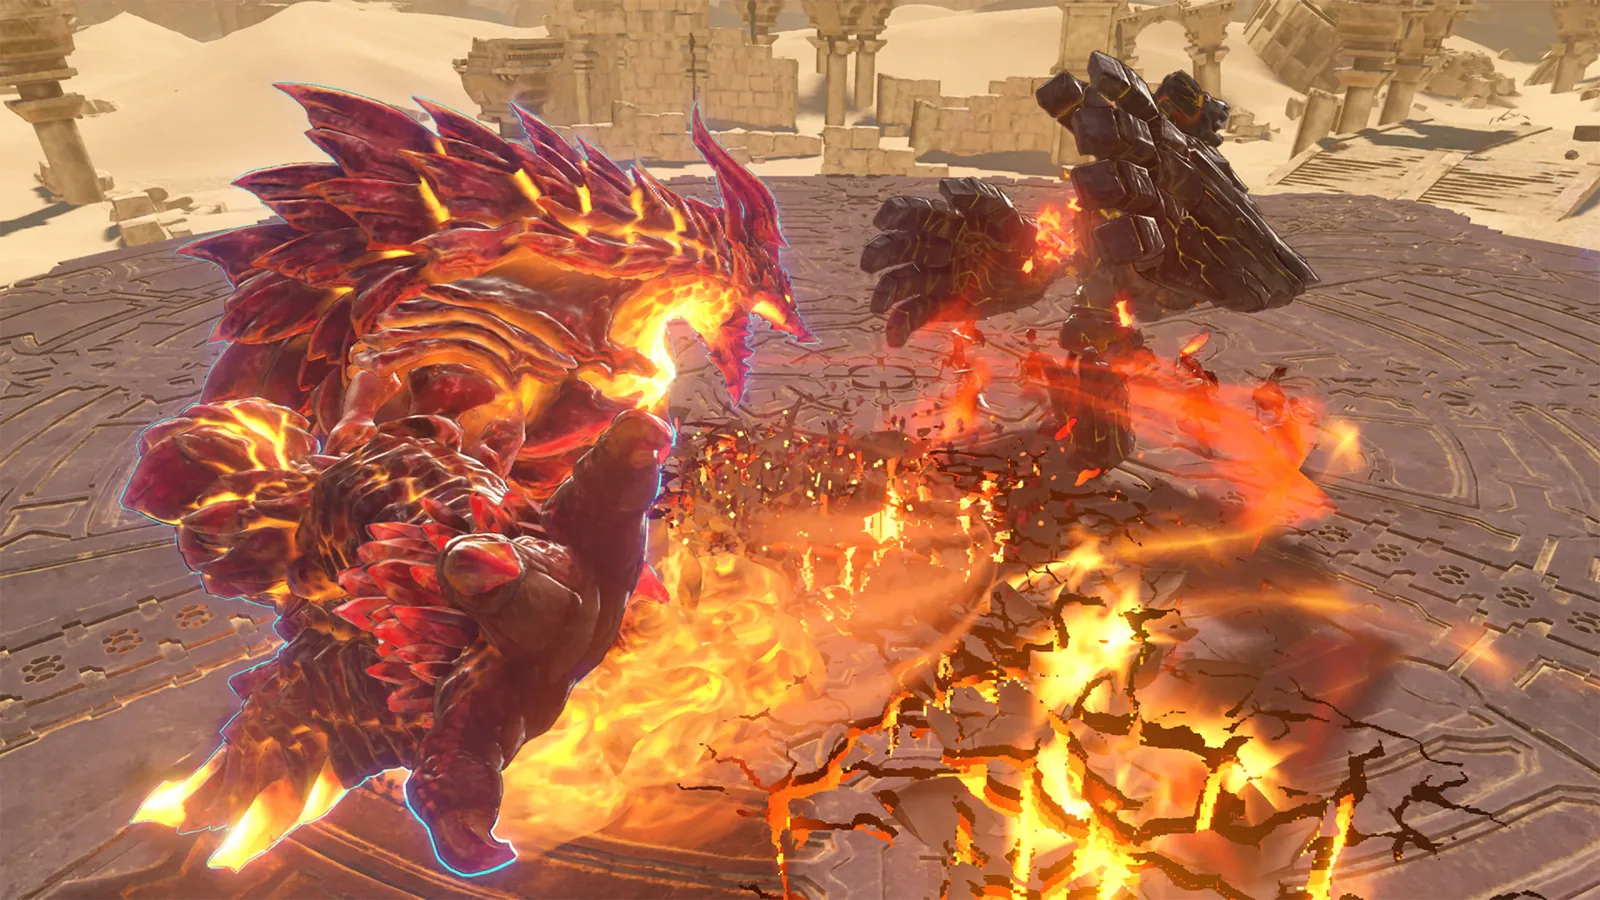
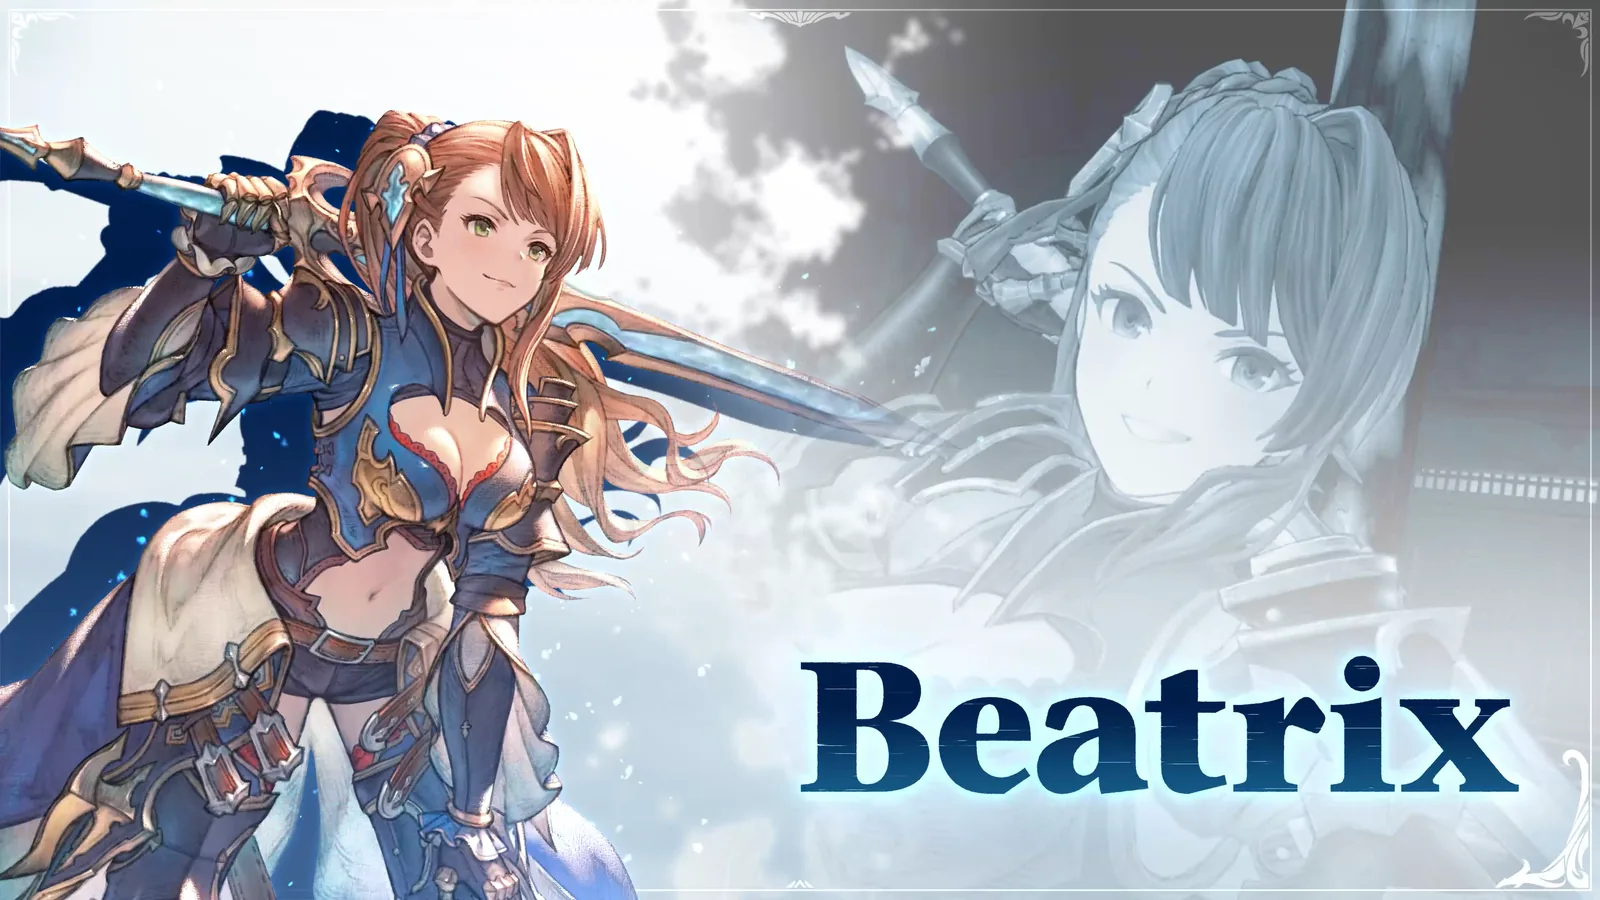
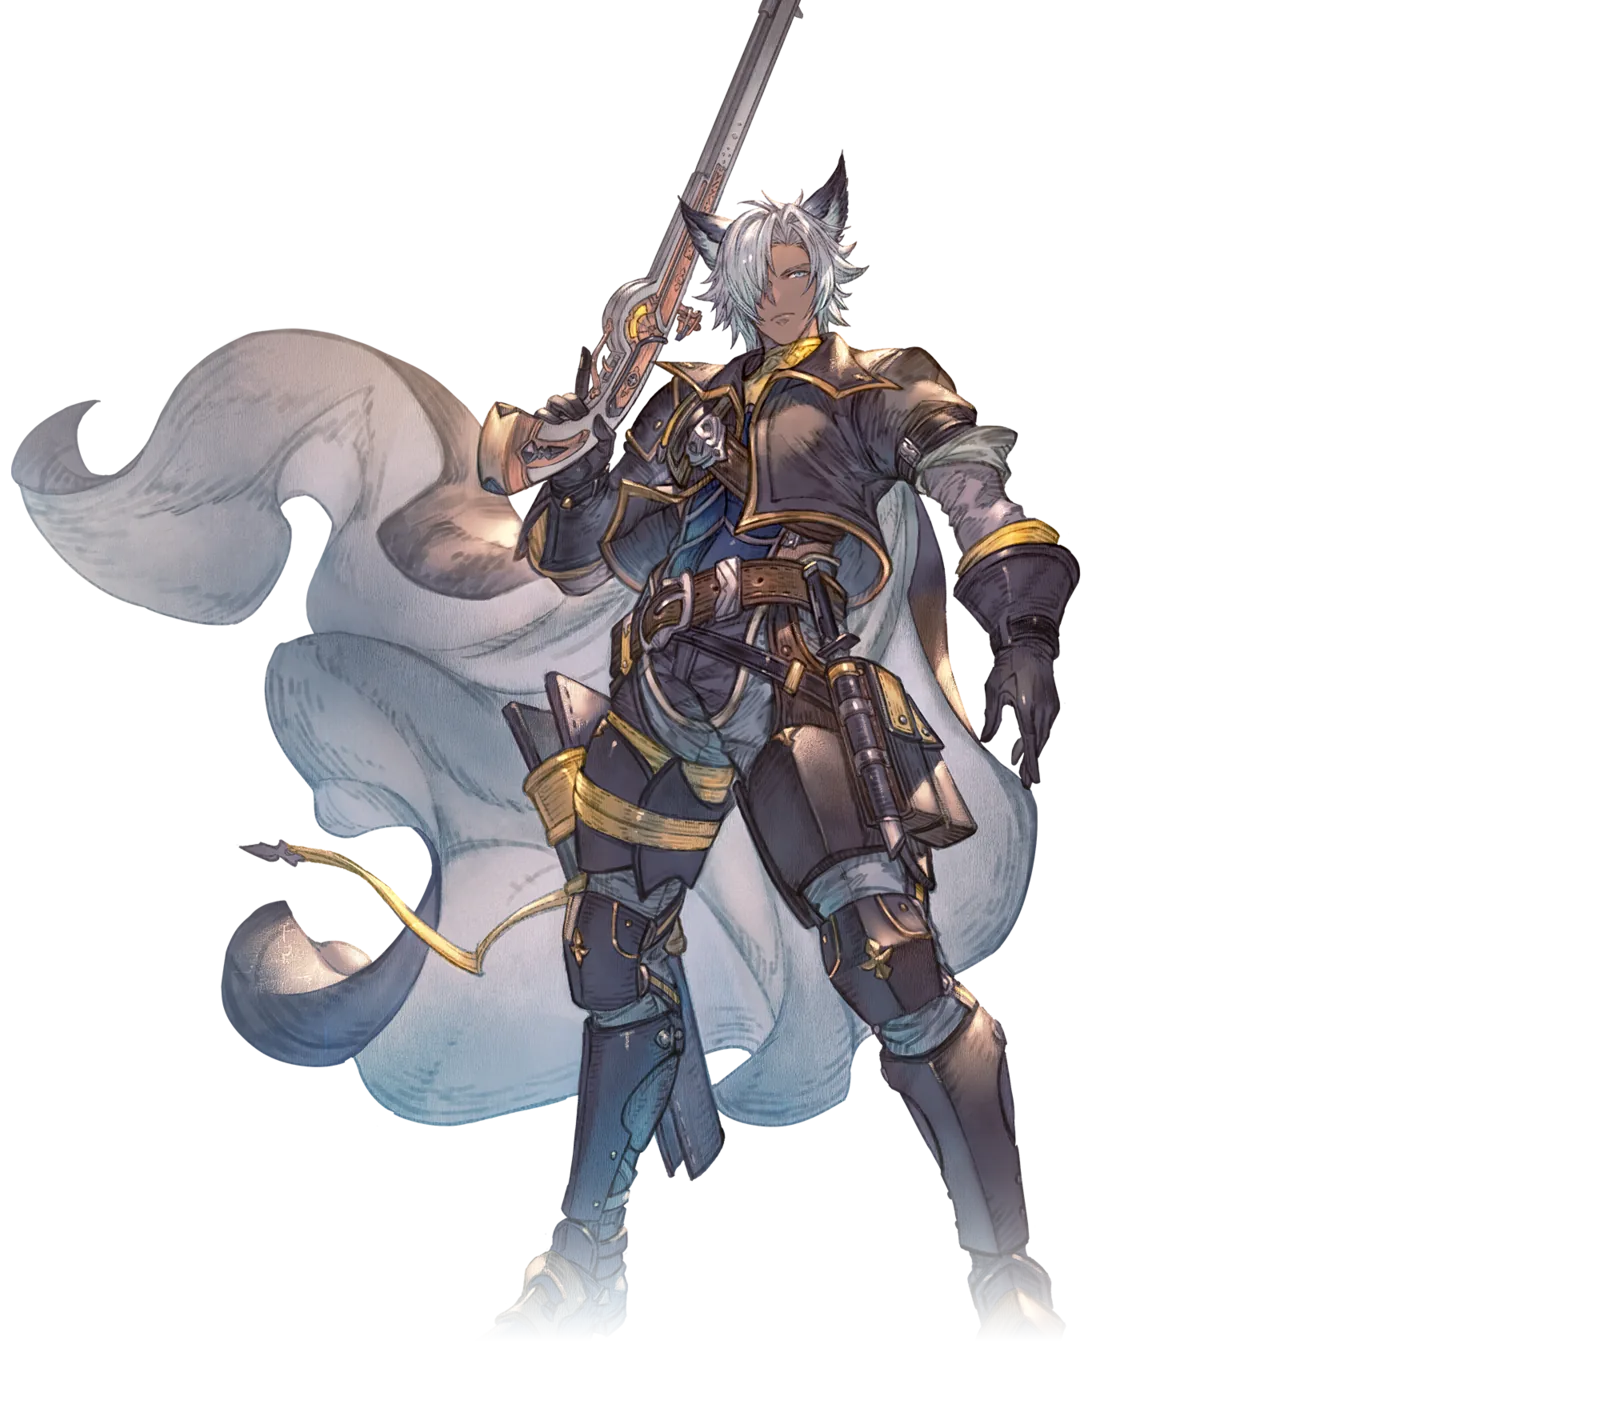
The World is a late-game boss, not a playable Endless Ragnarok recruit. Its profile appears on the official character site because it is an important story entity, but you cannot spend a Crewmate Card to add it to your party. The practical route is to progress Fraux's content until the Chaos++ quest New World Order becomes available, then build your first clear around the encounter's Arcana-card checks rather than trying to force maximum damage from the opening seconds.
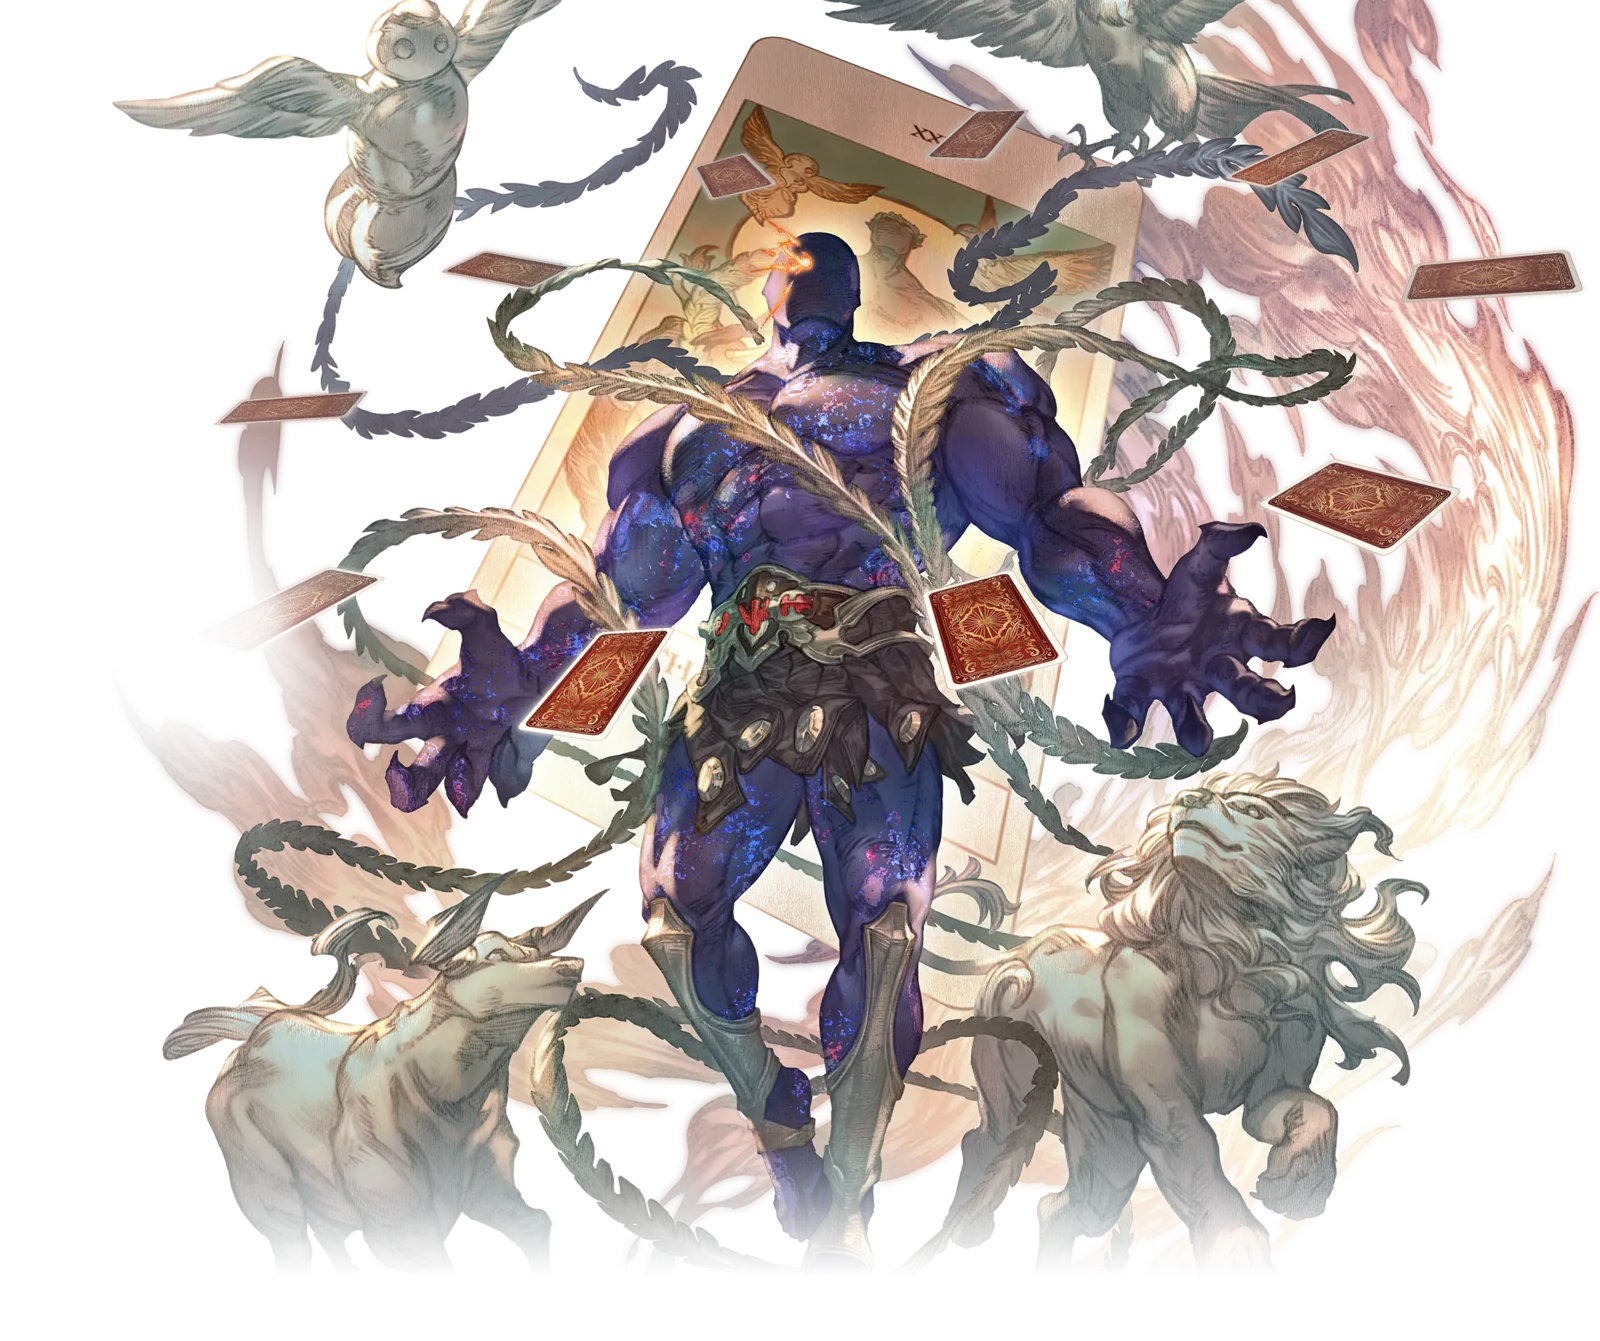 Official promotional artwork for The World.
There is also a current-version reason to update before learning the fight. Ver. 2.0.5 fixed camera problems in New World Order and On the Threshold of The World, including an intermittent issue after The World used Celestial Sphere. If you are watching July footage or reading an older troubleshooting post that describes the camera breaking during those sequences, do not assume the problem still defines the encounter. Install 2.0.5 first and learn the fight on the current build.
The short first-clear plan
Use a familiar character, bring one reliable survival layer, and keep enough burst or a Summon available for the encounter's card checks. The World punishes a group that spends everything on the boss immediately before a mechanic that requires fast target switching.
| Problem | First adjustment | Avoid |
|---|---|---|
| You die before learning the second phase | Add Guts, Autorevive or another dependable safety layer you already understand | Copying a speed-clear glass-cannon build |
| Cards survive and the party wipes | Save skills and burst for the card sequence | Spending every cooldown on The World before cards spawn |
| You reach late phases but the run becomes chaotic | Assign target priority and keep the Summon for a real interruption | Casting the Summon on the opener just because it is ready |
| Online camera behaved incorrectly in old runs | Verify Ver. 2.0.5 and retry | Treating pre-2.0.5 camera reports as current mechanics |
| The quest is missing | Progress Fraux's questline and Chaos tiers | Farming random gear while the real blocker is progression |
The first clear should teach you the sequence. Once the party reaches the final mechanics consistently, you can remove defensive comfort and move more resources into damage.
Is The World playable?
No. The official site calls The World the Inchoate World, an Arcarum created by the Astrals that developed its own identity. It also has official English and Japanese voice credits. None of that turns it into one of the expansion's six playable additions.
The six new playable characters are Beatrix, Eustace, Gallanza, Maglielle, Fraux and Fediel. If your search was actually about the new roster, use the character roster instead.
How to reach The World
Current encounter coverage places The World behind Fraux's questline and the Chaos++ progression route in New World Order. If the quest is not available, check progression before changing your build.
A useful order is:
- Progress the relevant Endless Ragnarok story and Fraux content.
- Advance through the required Chaos and Chaos+ progression.
- Confirm New World Order is visible at Chaos++.
- Update the game to Ver. 2.0.5 or later before troubleshooting old technical reports.
- Enter with a character whose dodge, guard and burst windows you already know.
Learning The World and learning a brand-new character on the same attempt creates unnecessary variables. Use a practiced main for the first clear, then bring new characters once you understand the fight.
Phase one: card priority matters more than rotation pride
The opening teaches the basic movement language of the fight. The World uses projectile and arena-control attacks that punish players who keep attacking after the safe window ends. Your goal is to recognize the next cast early enough that you can stop your combo without turning a small DPS loss into a knockdown.
One of the major checks is Sephira Sandbox. The World produces Arcana cards that attack the arena and culminate in a dangerous finish. The safe rule is simple: switch to the cards immediately and clear the check before returning to the boss.
This is why burst planning matters. If the whole group uses its strongest skills seconds before the cards appear, the party can have plenty of boss DPS but fail the encounter-specific target check.
Practical phase-one priorities
- Stay close enough to resume damage, but do not chase through obvious arena patterns.
- Treat card spawns as mandatory targets, not optional adds.
- Keep at least one strong skill or burst tool available when you know a card sequence is approaching.
- Do not judge the build from one failed perfect guard or one missed dodge; judge whether the party is reaching the next mechanic consistently.
Celestial Sphere and the phase transition
After the first health bar, The World enters Celestial Sphere. This transition is a bad place to greed for damage. When the boss is not meaningfully damageable, reposition and prepare for the arena sequence instead of forcing inputs that cannot advance the fight.
This is also the part of the encounter most directly connected to Ver. 2.0.5. Cygames fixed an intermittent bug where the camera could stop working correctly after The World activated Celestial Sphere in New World Order or On the Threshold of The World. Another fix addressed camera failure in online co-op for those quests more broadly.
That changes troubleshooting advice:
- If you saw the bug before Aug. 28, update and retry.
- If a current 2.0.5 run still has camera trouble, confirm every player is updated before assuming it is the same known issue.
- Do not use an old workaround as part of the intended fight strategy.
The mechanic itself still matters; the broken camera does not.
Phase two: Invoke Idean and target switching
Later sequences increase the pressure on target priority. Invoke Idean creates multiple Arcana cards, and current encounter guidance warns that leaving them alive can strengthen or complicate the boss state.
Use a hard-switch rule: when the cards appear, stop treating The World as the only target. A coordinated group should call targets before the run or immediately as they spawn. In solo play, watch which target the AI is neglecting and use your own character to correct the imbalance.
This phase is where support and survivability can outperform another small damage increase. A party that survives long enough to execute every card check will usually clear faster than one that repeatedly wipes while carrying theoretical maximum DPS.
Save resources for the final Wheel of Fortune sequence
Near the end, Arcarum: The World Beyond leads into the Wheel of Fortune interruption. This is a strong reason not to spend your Summon at the opener.
A conservative resource plan is:
- Clear the first card pair cleanly.
- When multiple targets require balanced attention, split pressure instead of tunnel-visioning one card.
- Use the saved Summon if it converts a likely failed check into a safe clear.
- After the interruption succeeds, commit remaining burst to The World.
In co-op, say the target rule before pulling. In solo, be ready to compensate for AI target selection. The encounter is testing whether the group can change priorities under pressure, not just whether one character can produce a large dummy number.
What should you equip for the first clear?
There is no single mandatory build, but first-clear priorities are predictable.
Keep one safety net
Guts, Autorevive or another defensive option can be valuable while you are learning. The point is not to make a permanent low-damage build; it is to turn one mistake into another 30 seconds of information instead of another loading screen.
Build enough damage for the card checks
Pure defense can also fail if the party cannot destroy cards in time. Once you survive reliably, move upgrades toward the exact check that is failing rather than removing every defensive layer at once.
Use current Master Traits, not old screenshots
Endless Ragnarok's Master Traits and progression systems make older build screenshots less portable. Verify the trait setup you actually own, and remember that Ver. 2.0.5 also increased MSP storage and several endgame MSP rewards. The Master Traits guide covers the current system separately.
Common mistakes
Looking for The World in the playable roster. It is a boss/story entity. Use the six-character roster if your goal is recruiting a new main.
Ignoring the cards. The card casts are the fight's key decision points. Personal rotation damage becomes secondary when the encounter demands target switching.
Using the Summon immediately. Hold it until it prevents a failed late check unless your group has already mastered the fight and deliberately optimizes a faster route.
Following pre-2.0.5 camera workarounds. The known New World Order / Celestial Sphere camera bugs were patched. Update first.
Changing everything after one wipe. Keep the character, quest and most of the build stable. Change the one decision that caused the failure so you can tell whether the adjustment worked.
Bottom line
The World is a Chaos++ endgame boss, not a recruit. Reach it through Fraux's progression, learn the Arcana-card checks with a familiar main, and save enough resources for the final interruption. Most importantly, learn the fight on Ver. 2.0.5 or later: the August 28 patch fixed camera problems in New World Order and On the Threshold of The World, including issues associated with Celestial Sphere.
Once the party can execute the card sequence consistently, start trading first-clear safety for faster damage. Until then, a stable clear is more useful than a tier-list build that never reaches the final mechanic.